Hello, friends! I hope 2025 is off to a great start for you. It’s hard to believe January is nearly over. While the cold weather settles in, B and I have been spending most weekends at home, tackling a couple of long-awaited projects. Today, I want to share our progress on one of them: the built-in bookshelves in our Family Room.
Why Built-Ins, and Why Now?
We’ve lived in this house for about 16 years, and for almost as long, we’ve talked about doing a wall of built-in bookshelves in the living room. But it always felt like a “want” rather than a “need,” so we kept postponing it for more pressing projects. Finally, after a year and a half of planning, we decided it was time to bite the bullet. B used his holiday break to build the base cabinets, and then he spent the following weekends constructing the shelves that would come together to create our dream built-in wall.
How the Project Took Shape
1. Measuring and Planning
As usual, I shared my vision, and B turned it into a workable plan. He started by taking detailed measurements of the wall between our family room and kitchen—on both sides of the opening and up to the ceiling.
2. Building the Base Cabinets
We knew we wanted lower cabinets for closed storage. After comparing pre-built options (none of which matched our desired dimensions), we decided to custom-build them. This allowed us to go with 18-inch-deep cabinets, a size that best suited our space but isn’t standard.
B built, leveled, and attached these cabinets to the wall. He then joined wood planks to form a countertop, which we planned to paint so everything would look cohesive once done.
3. Installing the Shelving
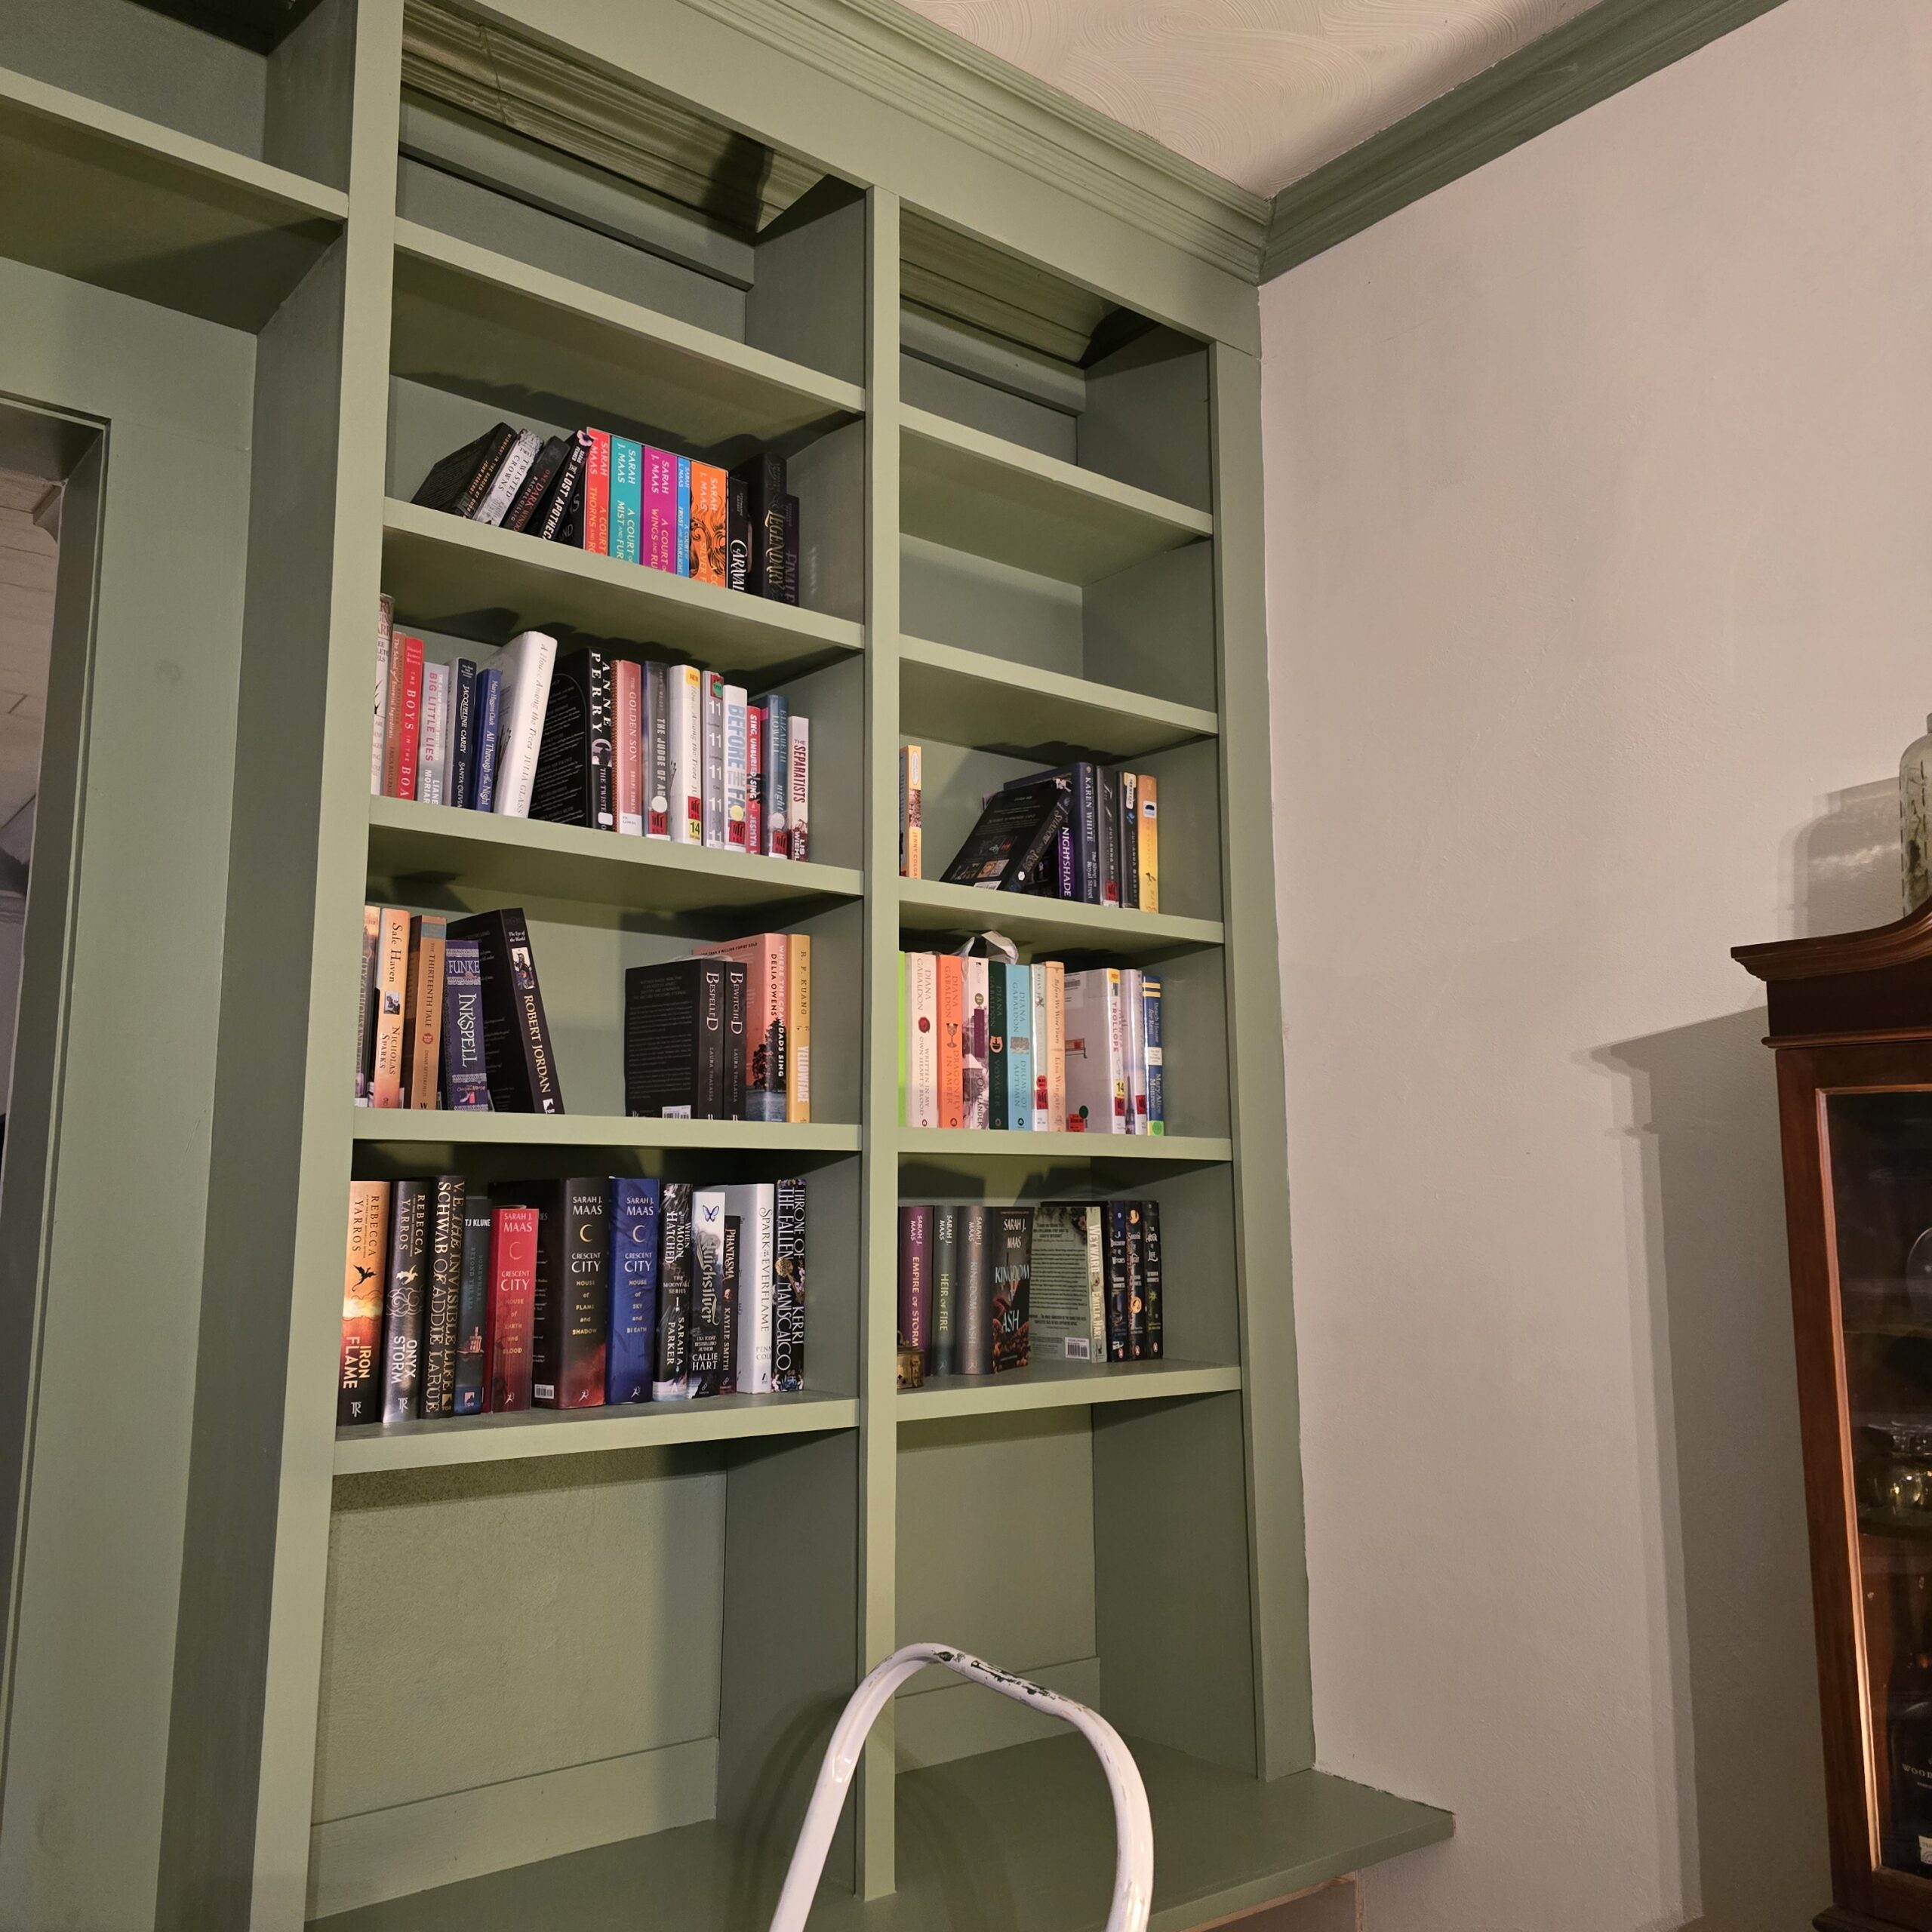
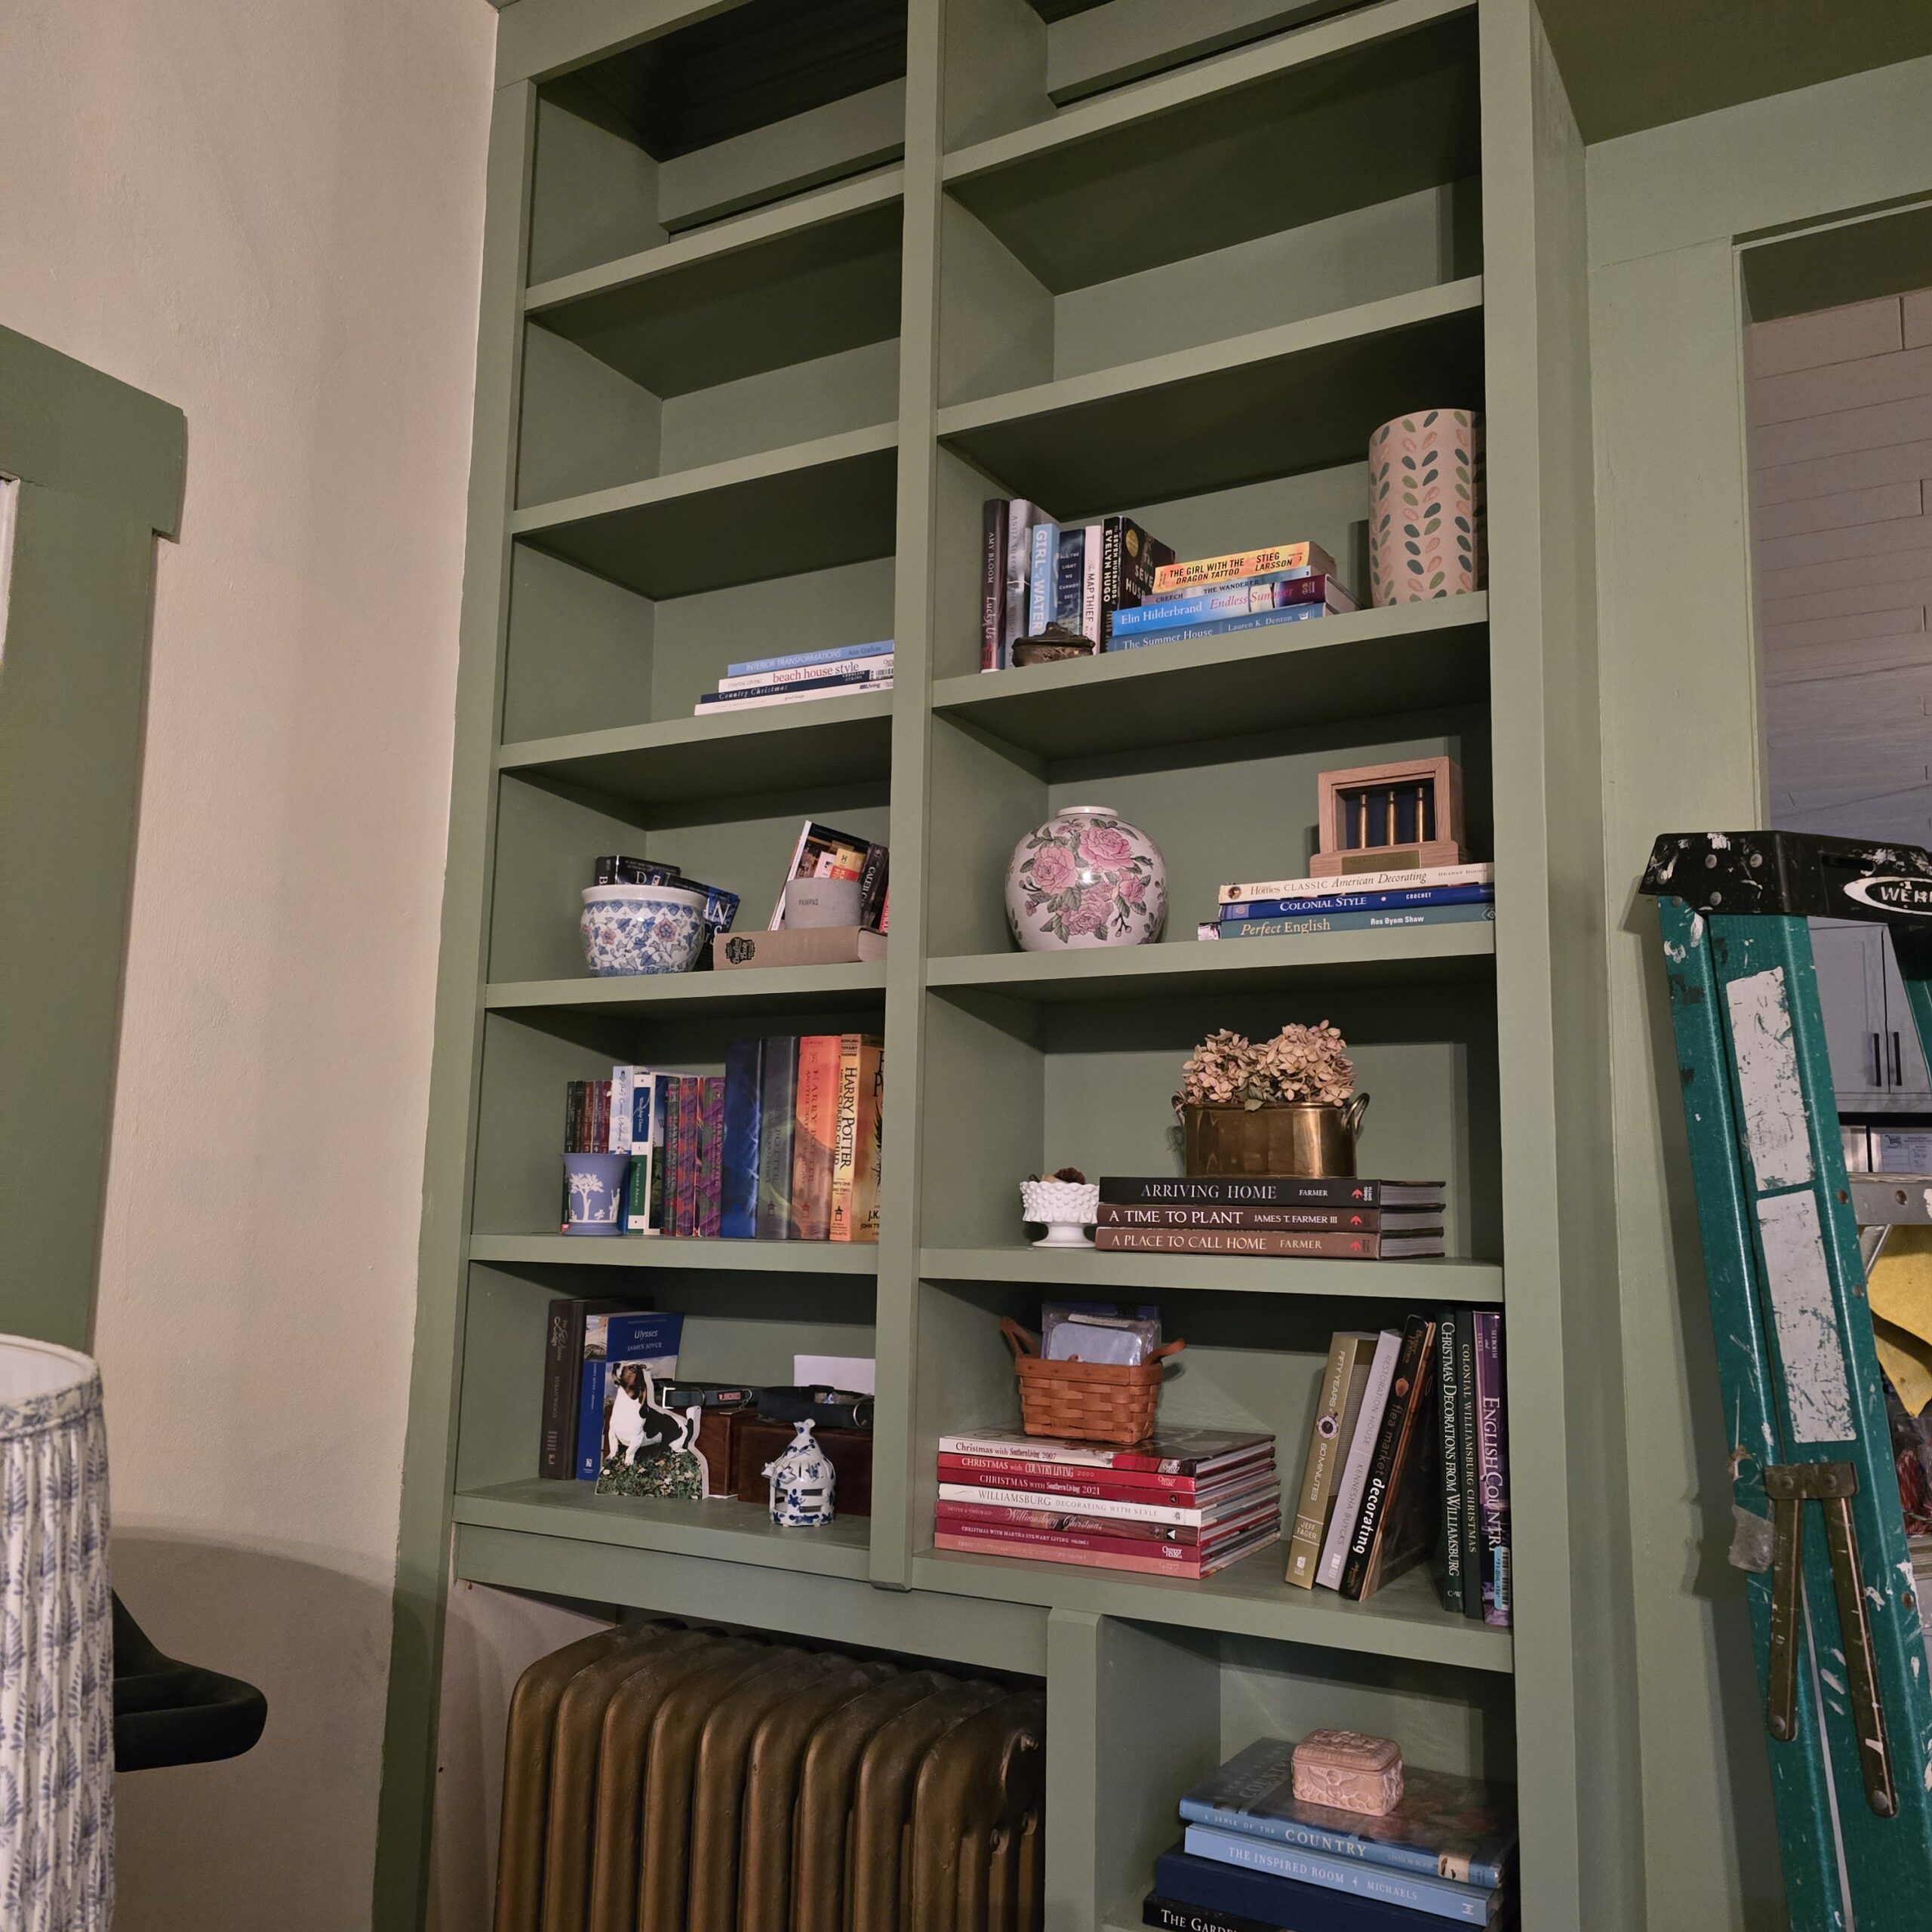
After finishing the first side, we moved on to the other side of the wall, which has a radiator. We decided to build bookshelves floor-to-ceiling there, framing around the radiator rather than forcing a small cabinet to fit. Although it won’t be perfectly symmetrical across the door opening, it makes sense for our layout.
Similar to the first side, B built the shelf and frame to enclose the radiator at the base, then constructed shelves all the way up the wall to the ceiling. He designed both sides so the shelves would align horizontally, creating a seamless look.
4. Connecting Above the Door
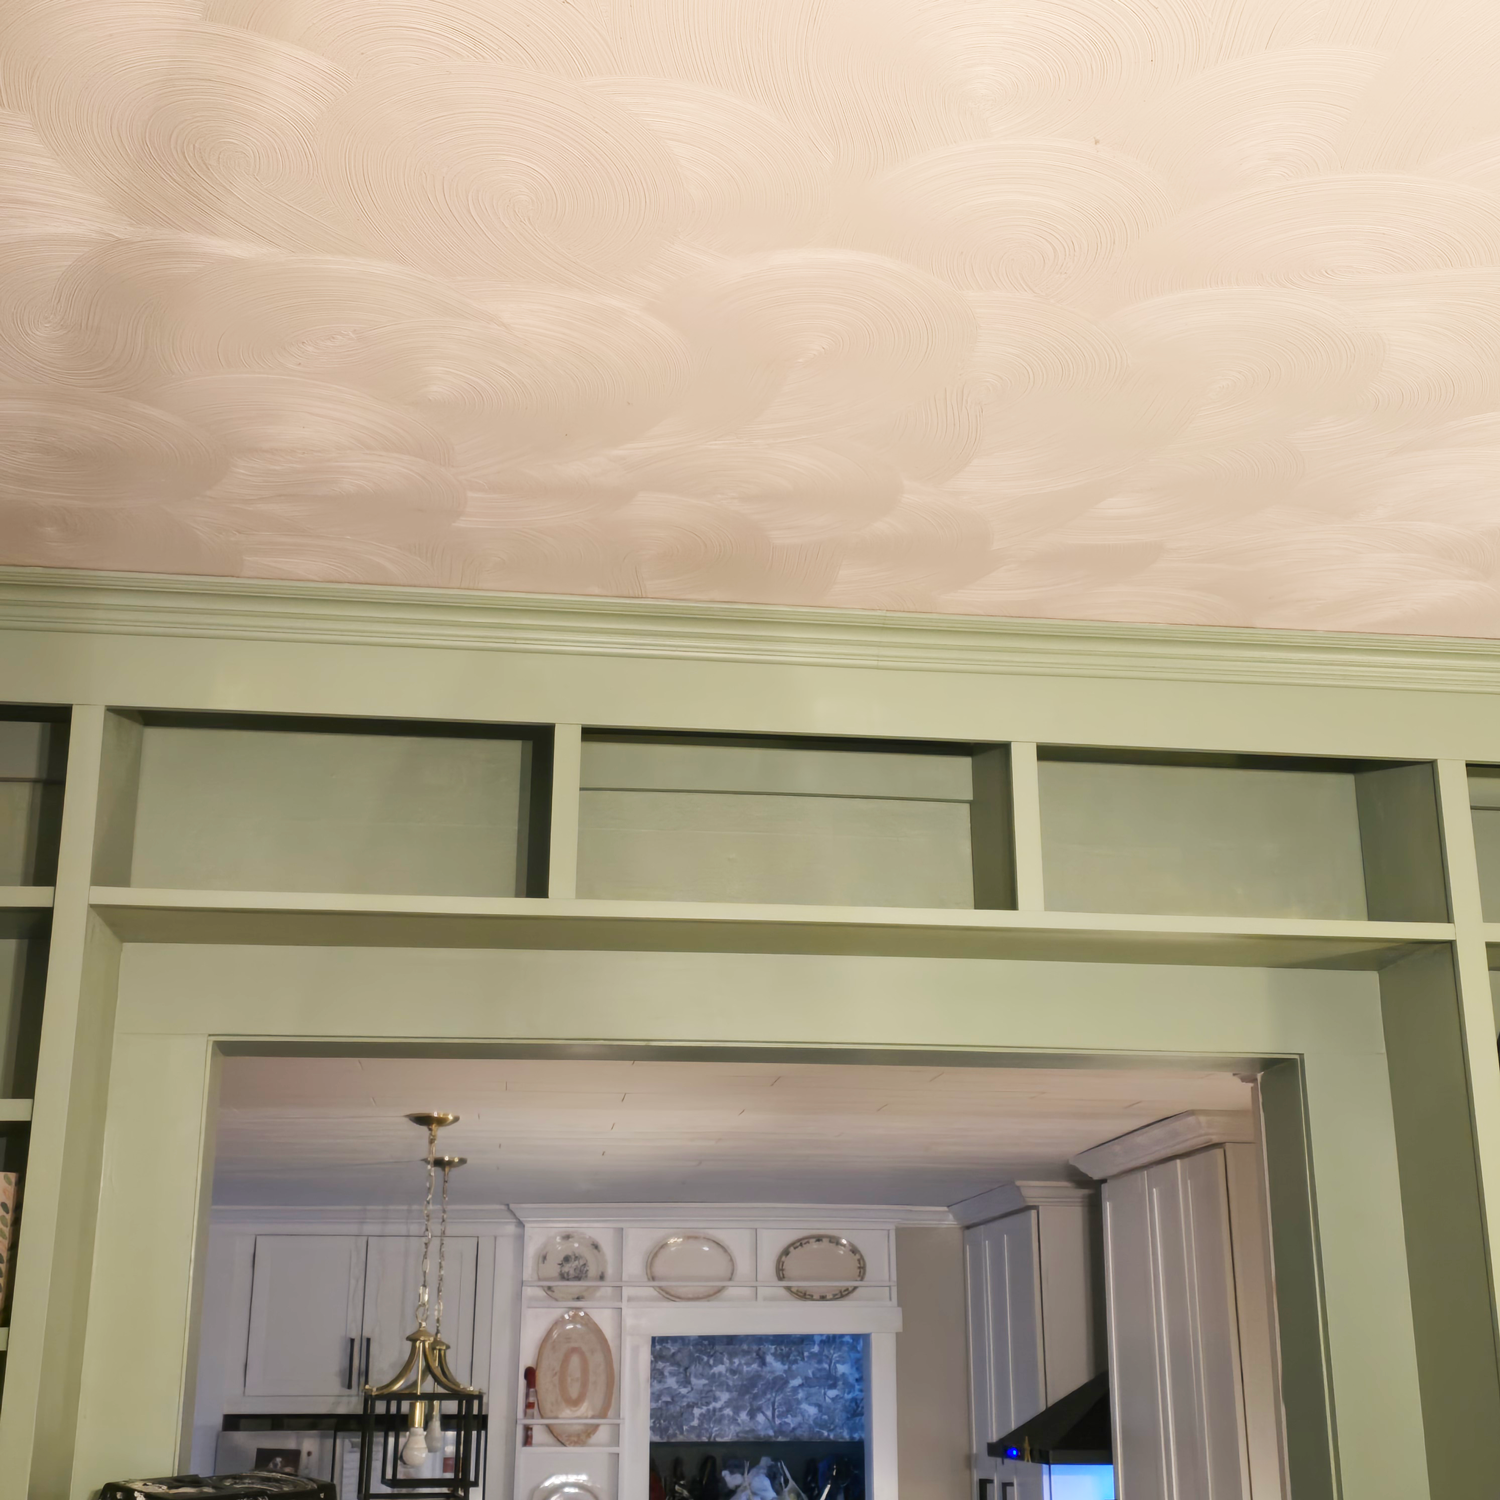
Once both sides of the door opening were complete, B added a single row of shelves that span above the door, tying the two sides together. Face frames, trim, and crown molding were the finishing touches on the construction phase.
5. Finishing Touches
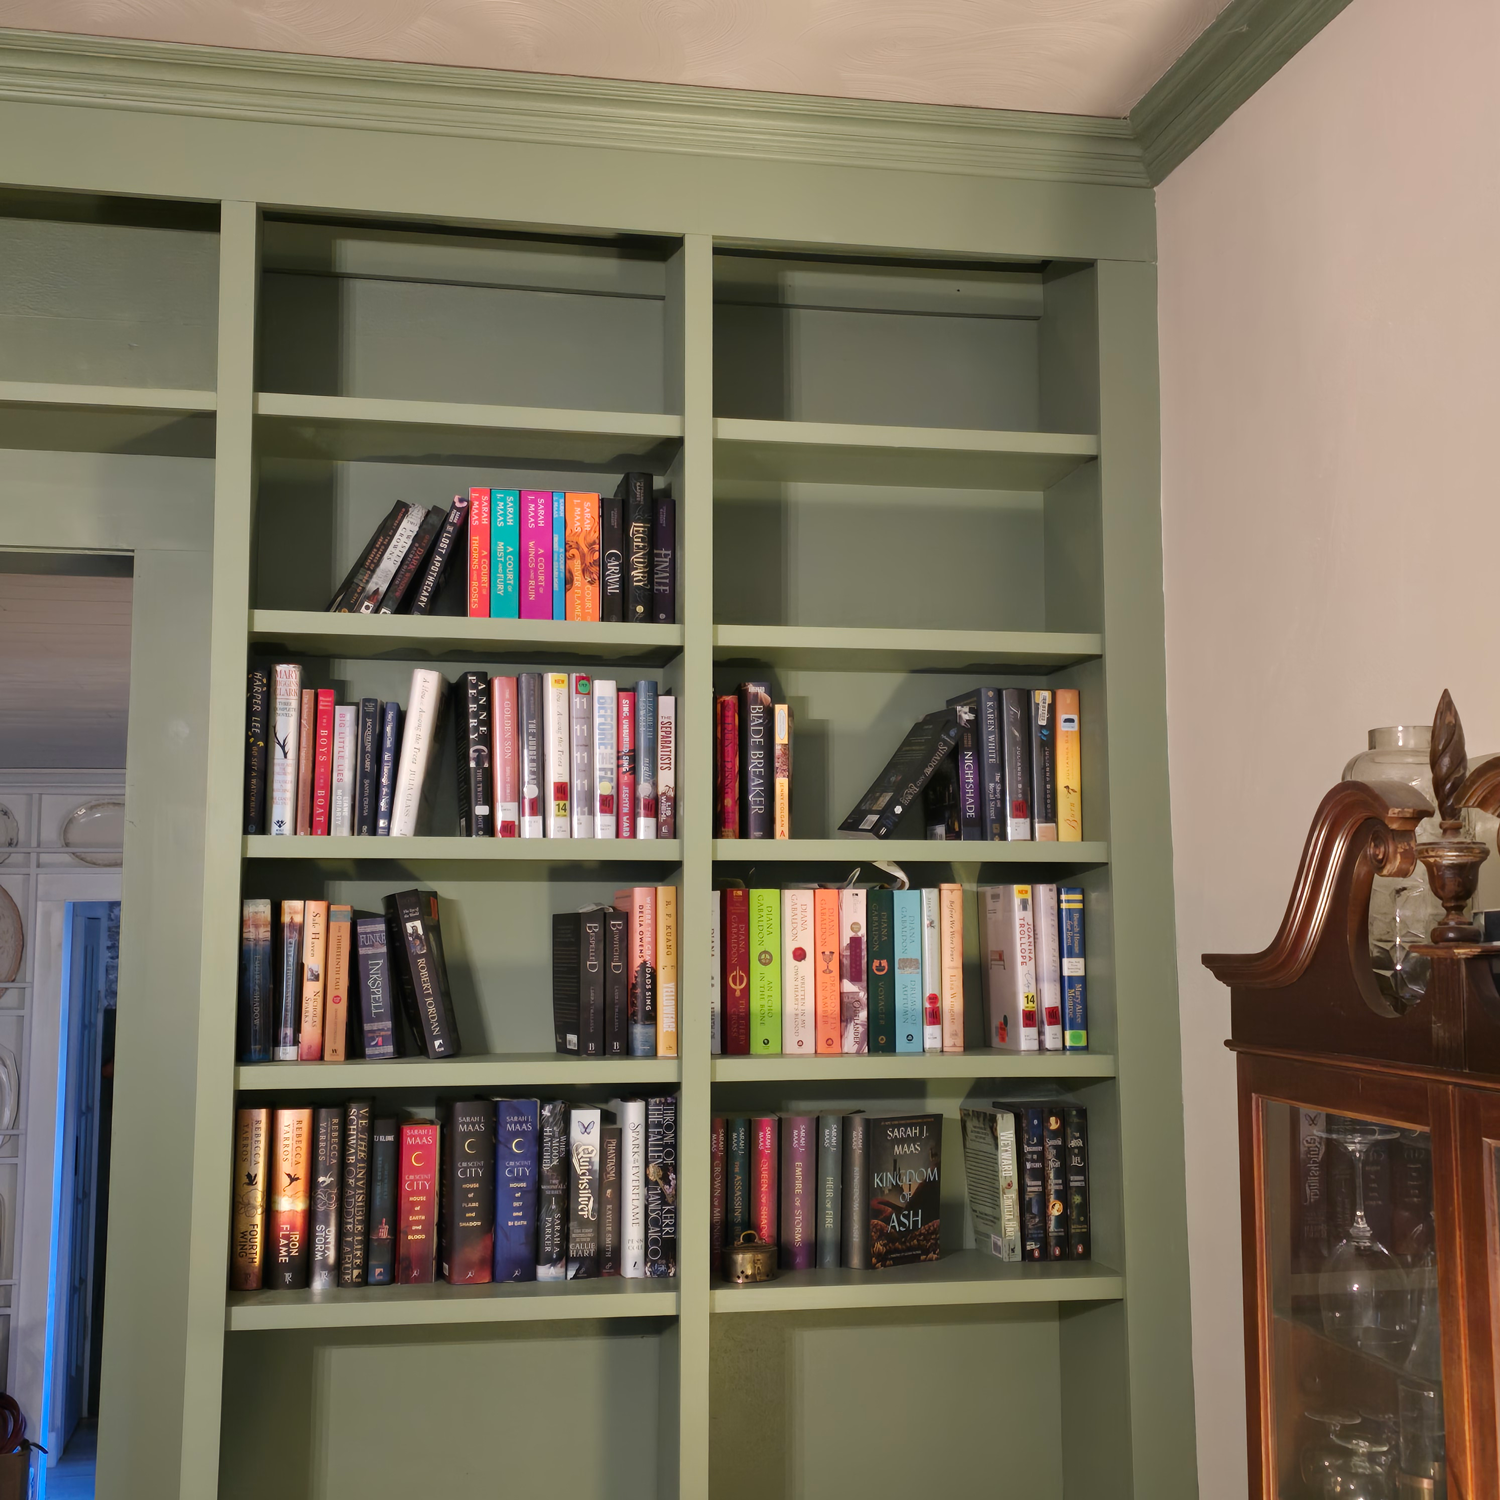
After construction, we filled any nail and screw holes, sanded everything smooth, cleaned up, then primed and painted the entire built-in. We chose Benjamin Moore Kennebunkport Green, the same color used on the trim and fireplace surround in this room, to keep the space cohesive.
What’s Left to Do
Even though we’re 90% done, a few details remain:
- Build and Install the Cabinet Doors
We still need doors for the lower cabinets. - Add Hardware
We’ll choose knobs or pulls that match the room’s existing style. - Additional Support Screws
The middle section of shelves spanning the door needs extra reinforcement. - Touch-Up Paint
A few spots need a second coat or light sanding and re-coating. - Styling the Shelves
The fun part—filling them with books, accessories, and personal treasures. - Adjust Furniture Layout
Once the shelves are in place, we’ll figure out how to arrange the room for the best flow.
Project Details
- Construction Costs (Lumber & Supplies): ~$500
- Paint: ~$100
- Total Time: About 15–18 hours over three to four weekends
- Paint Color: Benjamin Moore Kennebunkport Green
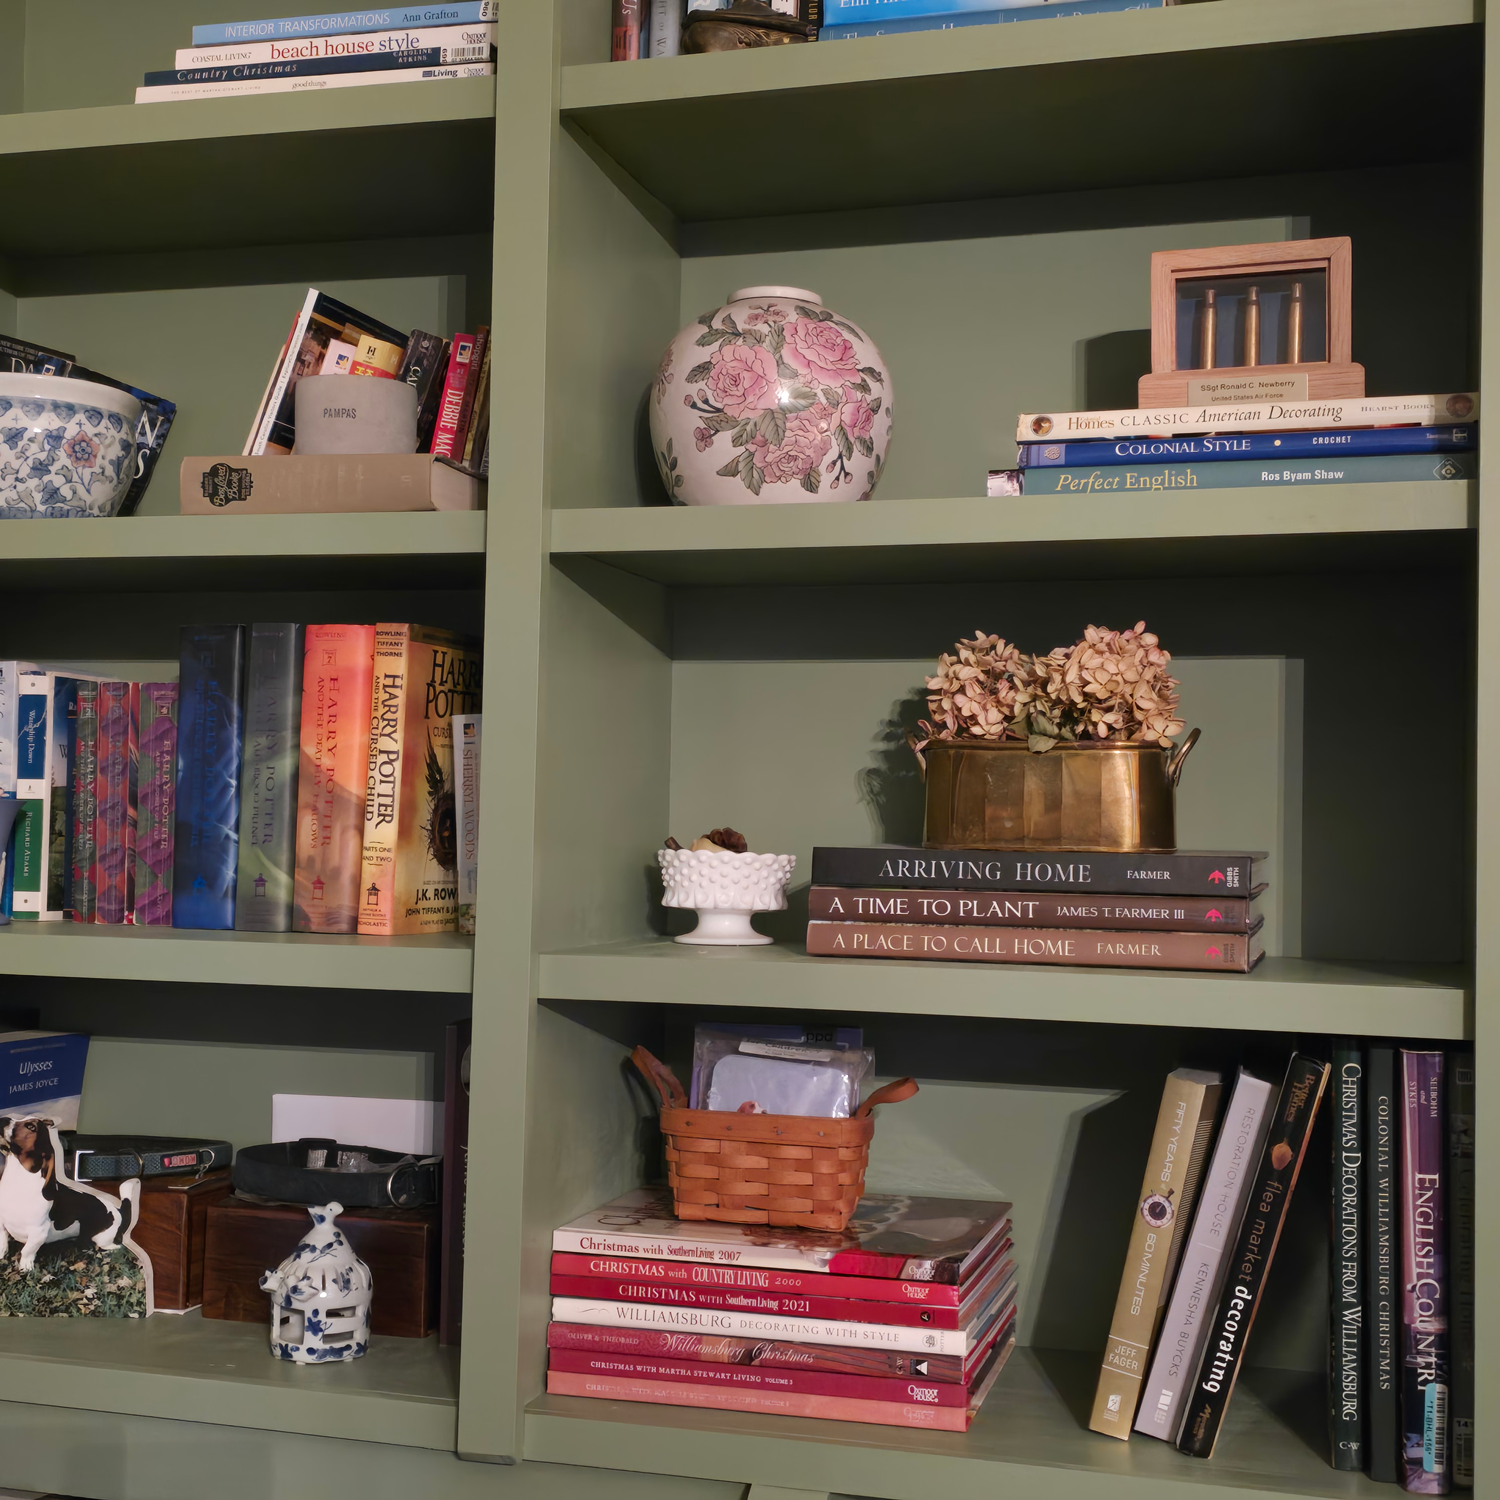
Watching our dream of built-in bookshelves finally come to life has been both exciting and rewarding. While we still have a few finishing touches left, the space already feels transformed—cozier, more functional, and uniquely “us.” I can’t wait to fill the shelves with our ever-growing collection of books and decorative pieces that reflect our style.
If you’ve been considering a similar project, I hope our behind-the-scenes look gives you the encouragement to start planning. Sometimes the ideas we put off for “someday” are the ones that end up bringing the most joy when we finally tackle them!
Thank you for following along on this journey. Keep an eye on the blog and social media for the big reveal once everything is finished. As always, feel free to leave any questions or thoughts in the comments—I love hearing from you!
Leave a Reply